Chapter 1: Plug in your Arduino
Plug your Arduino into your computer.
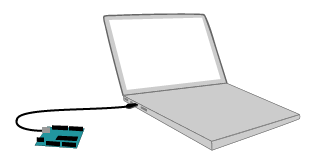
We’ll need a USB A-B cable, a computer, and an Arduino Uno.
First plug the USB cable into one of your computer’s USB ports.

Next, plug the USB cable into the USB port on the Arduino.

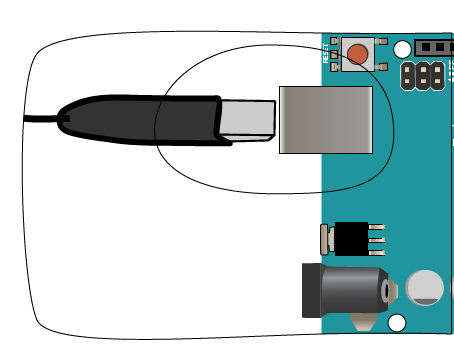
Here’s a top view of the USB port on the Arduino with the USB A-B cable.
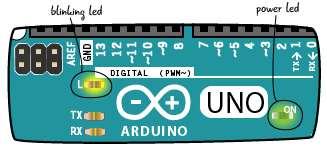
What happens when you plug in the Arduino?
The power LED labeled to ON should light up. And if this is the first time you’ve plugged it in, the LED on the Arduino near pin 13 should start blinking.

You’ve powered up your Arduino for the first time!
You can always use a USB cable and a port on your computer to power the Arduino. The Arduino can also be powered by attaching it to a power supply that’s plugged into a wall outlet.
Powering the Arduino from a power supply
We will need a 9-12 Volt DC power supply and an Arduino. The first step is to unplug the USB cord which will completely power down the Arduino.
Always unplug the Arduino from a power source whenever you are making changes!

Attach the power supply to the power port on the Arduino.

Next, plug your power supply into a surge protector, then into a wall outlet.

What happens now? It should be just the same as when we attached the Arduino to your computer with the USB cable, the LED labeled ON indicates that the Arduino has power. And if your Arduino is straight out of the box, the LED near pin 13 will start blinking.
Now you know the two methods of powering an Arduino. You can switch your power source as your project evolves –you’re not stuck using one or the other.