Chapter 3: Debugging
Debugging: what do I do if the LED is not blinking?
If your LED is blinking and the upload worked, move on to the next page. But what if the LED didn’t light up? Just like we used Debugging to search out any issues in our hardware and circuits, we will do the same throughout the book to look for any problems preventing our Arduino or code from functioning properly. If you had any issues with your ATG3_Blink sketch make sure that:
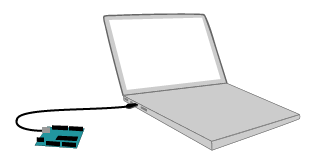
Your USB cord is tightly plugged into both your computer and your Arduino.
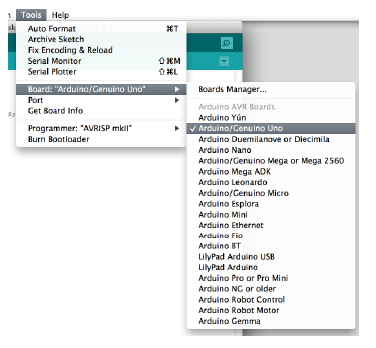
You have selected the right board type and serial port from the drop down window.
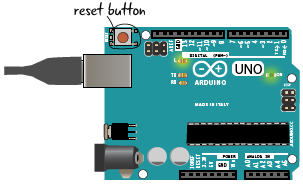
If your Arduino seems to not be responding, you can always push the reset button before uploading. The reset button will turn of your Arduino for a moment before turning it back on.
You can also try switching your USB port or restarting your computer if none of the above solutions seem to work for you. We will cover all sorts of code debugging tricks throughout the book, but these few basic tips concerning the Arduino can save you a lot of headaches later.
The ATG3_Blink sketch will run as long as the Arduino has power, but how does it actually work?